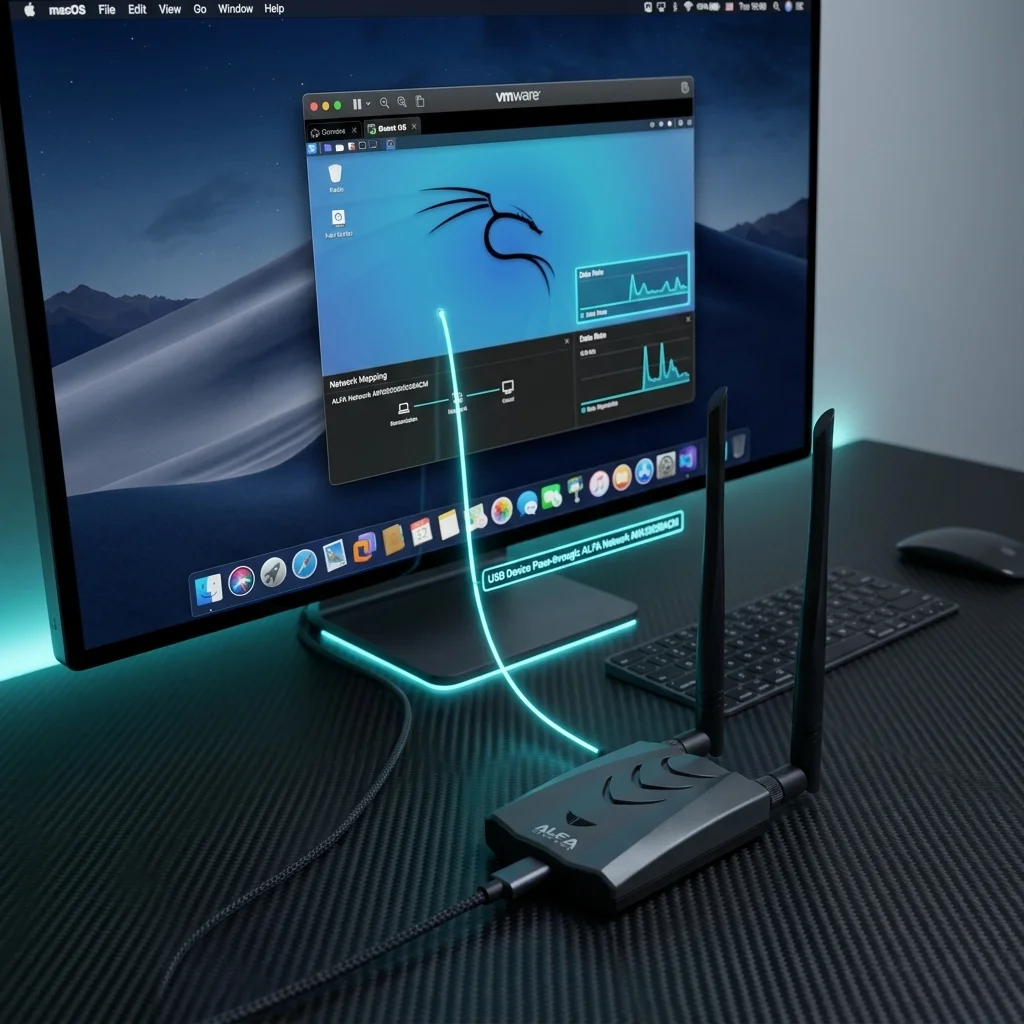
Using ALFA WiFi Adapters on macOS: USB Passthrough with VMware Fusion & Parallels
Table of Contents
macOS is a polished, production-grade operating system. It is not, however, a platform designed for wireless security research. The two features that define every serious pentester’s toolkit — monitor mode and packet injection — are absent from the macOS Wi-Fi stack entirely. Apple’s Wi-Fi drivers expose a clean, functional networking interface, and nothing more.
ALFA Network adapters change that equation on Linux, where driver support is deep and community-tested. On macOS, the situation is different. Even if an ALFA adapter is recognised by macOS, the native network stack will not let you put it into monitor mode or inject raw frames. The only reliable path forward is to run Kali Linux inside a virtual machine and pass the USB adapter directly through to the guest OS, bypassing macOS entirely.
This guide covers how to do that correctly across both major macOS hypervisors — VMware Fusion and Parallels Desktop — with specific attention to Apple Silicon (M1/M2/M3), which introduces ARM architecture constraints that make adapter and ISO selection non-trivial.
macOS Native: What Works Without a VM#
Before going straight to a VM setup, it is worth understanding what macOS can and cannot do with an ALFA adapter on its own.
AWUS036AXML (MT7921AUN chipset): This adapter is recognised by macOS as a generic USB networking device. The MT7921AUN driver shipped with macOS 13 Ventura and later picks up the adapter automatically. It appears in System Preferences → Network (or System Settings → Network on Ventura+) as a new interface, and it can connect to Wi-Fi networks like any other adapter. On older macOS versions, it may not be recognised at all.
AWUS036ACH (RTL8812AU) and AWUS036ACM (MT7612U) — adapters requiring third-party macOS drivers: These require a third-party driver for macOS. Several community and commercial driver packages exist, but compatibility is brittle. Driver rebuilds after macOS point updates are common, kernel extension signing requirements have tightened since macOS 11, and on Apple Silicon the situation is even more fragile due to Rosetta limitations with kernel extensions. Functional installation is possible but maintenance-heavy.
The hard limit — no monitor mode: Regardless of which adapter you use or which driver you install, macOS does not expose a raw monitor mode interface. The CoreWLAN framework and the underlying IO80211Family.kext architecture does not support it for third-party adapters. Tools like Wireshark can capture Wi-Fi traffic on macOS using the built-in Airport adapter through en0, but that is passive capture only — it is not equivalent to airmon-ng monitor mode, and packet injection is not possible.
For security testing — scanning for networks, capturing WPA handshakes, running deauthentication attacks, or testing injection — a Kali Linux VM with USB passthrough is the required setup on macOS.
Apple Silicon (M1/M2/M3) vs Intel Mac#
The architecture of your Mac determines which Kali Linux image you need and which hypervisors are viable. This is the most common source of confusion for macOS users setting up a security testing VM.
Intel Mac (x86_64): All three major hypervisors — VMware Fusion, Parallels Desktop, and VirtualBox — run natively on Intel Macs. You can use the standard Kali Linux x86_64 ISO from the official kali.org downloads page. Driver compilation inside the VM follows the same steps documented in every Kali guide online, because the architecture matches.
Apple Silicon (M1/M2/M3): Apple Silicon is ARM64. A standard x86_64 Kali ISO will not boot on Apple Silicon hardware even inside a hypervisor — there is no x86 emulation layer at the VM level (Rosetta only applies to user-space macOS applications, not full OS virtualisation). You must use the Kali Linux ARM64 image, available at kali.org/get-kali under the Apple Silicon / ARM section.
| Hypervisor | Intel Mac | Apple Silicon |
|---|---|---|
| VMware Fusion 13+ | ✅ Free personal licence | ✅ ARM64 VMs supported |
| Parallels Desktop 19+ | ✅ | ✅ Best Apple Silicon performance |
| VirtualBox 7.x | ✅ | ⚠️ Experimental on Apple Silicon |
USB passthrough is architecture-agnostic: The ALFA adapter itself is a USB device. Whether the host CPU is x86_64 or ARM64 does not affect how USB passthrough works. The adapter is handed off to the guest VM over the USB bus, and the driver inside Kali handles it from there. Architecture only affects which Kali image you use and how drivers compile inside the VM.
Option A: VMware Fusion USB Passthrough#
VMware Fusion is available free for personal use as of Fusion 13, making it the default recommendation for macOS users who want a no-cost hypervisor with solid USB passthrough support.
Step 1 — Install VMware Fusion 13+#
Download VMware Fusion from vmware.com/products/fusion.html. During installation, you will be prompted to allow the VMware system extension in System Preferences → Security & Privacy → General. This extension approval is required for USB passthrough to function — without it, VMware cannot intercept USB events from the macOS USB stack.
After approval, macOS may prompt for a restart. Complete the restart before continuing.
Step 2 — Create Your Kali Linux VM#
- Apple Silicon Mac: Download the Kali Linux ARM64 installer ISO or the pre-built Parallels/VMware ARM image from kali.org. In VMware Fusion, create a new VM and select the ARM64 ISO.
- Intel Mac: Download the standard Kali Linux x86_64 installer ISO. Create a new VM and select the ISO as the installation media.
Allocate at minimum 4 GB RAM and 40 GB disk for a functional Kali installation. During Kali setup, install the full default package set to include the wireless tooling (aircrack-ng, airmon-ng, airodump-ng) out of the box.
Step 3 — Connect the ALFA Adapter via USB Passthrough#
With the Kali VM running and the ALFA adapter plugged into your Mac’s USB port:
- VMware Fusion will display a popup: “A USB device is requesting permission to connect to your virtual machine.”
- Click Connect to [VM Name] to hand the adapter directly to the Kali VM.
- macOS will lose visibility of the adapter at this point — it is now exclusively owned by the VM.
Step 4 — Verify Inside Kali#
Open a terminal in the Kali VM and confirm the adapter is visible:
lsusb | grep -i mediatek
# AWUS036AXML / MT7921AUN: Bus 001 Device 002: ID 0e8d:7961 MediaTek Inc. ...

lsusb | grep -i realtek
# AWUS036ACH / RTL8812AU: Bus 001 Device 002: ID 0bda:8812 Realtek Semiconductor Corp. ...
If neither command returns output, the passthrough has not completed — re-check the VMware device menu.
Step 5 — Load Driver and Verify Monitor Mode#
For MT7921AUN (AWUS036AXML), the driver is built into the Kali kernel. For RTL8812AU adapters, driver installation is required — see the Driver Install Guide. Once the driver is active:
sudo airmon-ng check kill
sudo airmon-ng start wlan1
sudo airodump-ng wlan1mon
A live scan output from airodump-ng confirms that passthrough, driver loading, and monitor mode are all functioning correctly.
Option B: Parallels Desktop USB Passthrough#
Parallels Desktop is the preferred hypervisor for Apple Silicon Macs when performance is a priority. It is not free — a subscription licence is required — but its ARM64 VM support and USB passthrough implementation are more mature than VMware Fusion on Apple Silicon hardware.
Step 1 — Parallels Desktop 19+#
Install Parallels Desktop from parallels.com. The same system extension approval flow applies as with VMware Fusion. Allow the Parallels system extension in Security & Privacy and restart when prompted.
Step 2 — Create Kali Linux ARM64 VM#
On Apple Silicon, Parallels works exclusively with ARM64 guest OS images. Download the Kali Linux ARM64 image from kali.org and create a new VM in Parallels using that image.
On Intel Macs, the standard x86_64 Kali ISO works with Parallels without modification.
Step 3 — Connect ALFA Adapter via USB#
With the Kali VM running and the ALFA adapter plugged in:
- In the macOS menu bar, go to Devices → USB & Bluetooth.
- Find your ALFA adapter in the list (it may appear as Realtek 802.11ac NIC, MediaTek Wi-Fi, or similar).
- Click it and select Connect to Linux (or your VM name).
Parallels will disconnect the adapter from macOS and pass it exclusively to the Kali VM.
Step 4 — Verify with lsusb#
Inside the Kali VM terminal:
lsusb
ip link show
The ALFA adapter should appear in both lsusb output and as a new wlan interface in ip link show. If the interface is not visible, re-connect the device via the Parallels Devices menu.
Kali on Apple Silicon: ARM64 Driver Notes#
Running Kali ARM64 inside a VM on Apple Silicon changes the driver compilation environment. Most online guides assume x86_64, but the steps are nearly identical — the key difference is which packages are pre-installed and how DKMS handles ARM kernel headers.
RTL8812AU on ARM64:
The RTL8812AU driver from aircrack-ng/rtl8812au compiles correctly on ARM64. The DKMS build process is the same as on x86_64 — clone the repo, run dkms commands, and the module will be built against the ARM64 kernel headers:
sudo apt update && sudo apt install -y dkms linux-headers-$(uname -r) build-essential
git clone https://github.com/aircrack-ng/rtl8812au.git
cd rtl8812au
sudo make dkms_install
Allow several minutes for compilation. The resulting module will be architecture-specific to your ARM64 kernel.
MT7921AUN on ARM64:
The mt7921u driver is in-kernel since Linux 5.18 and is included in Kali ARM64 2024.x and later. No manual compilation is needed for the AWUS036AXML on Kali ARM64. The adapter is recognised automatically after USB passthrough.
dmesg | grep mt7921
# [ 4.123456] mt7921u 1-1:1.0: HW/SW Version: 0x8a108a10, Build Time: ...
Recommendation for M-chip Macs: If you are purchasing an ALFA adapter specifically for use on an Apple Silicon Mac with Kali in a VM, the AWUS036AXML (MT7921AUN) is the better choice. Its in-kernel driver eliminates the DKMS compilation step entirely and works reliably on ARM64 Kali builds. The AWUS036ACH is functional but requires the RTL8812AU out-of-tree driver, adding a maintenance dependency on kernel header availability.
Monitor Mode and Injection Test#
After completing USB passthrough with either VMware Fusion or Parallels, run the following command sequence to verify the full stack is working — from USB visibility through to monitor mode activation:
# 1. Confirm USB device is visible
lsusb

# 2. List wireless interfaces
ip link show

# 3. Kill conflicting processes (NetworkManager, wpa_supplicant)
sudo airmon-ng check kill

# 4. Start monitor mode on the wireless interface
sudo airmon-ng start wlan1

# 5. Confirm monitor interface was created
ip link show wlan1mon

# 6. Begin passive scan
sudo airodump-ng wlan1mon
A successful airodump-ng output — showing SSIDs, BSSIDs, channels, and client devices — confirms that USB passthrough, driver loading, monitor mode, and packet reception are all working end-to-end.
If wlan1 is not appearing after passthrough:
- Unplug the ALFA adapter from your Mac.
- Wait five seconds, then re-plug it.
- Re-assign it to the VM via the hypervisor’s USB device menu (Virtual Machine → USB & Bluetooth in VMware Fusion; Devices → USB & Bluetooth in Parallels).
- Run
lsusbagain inside Kali to confirm the device appears.
airmon-ng start wlan0 on the default wlan0 interface inside the VM — that interface is typically the VMware/Parallels virtual network adapter used for internet connectivity, not the passed-through ALFA adapter. Using the wrong interface will drop your VM’s network connection without enabling monitor mode on the ALFA adapter.Performance and Limitations#
USB passthrough latency: Passing a USB device through a hypervisor layer adds approximately 1–2 ms of processing latency compared to using the adapter on bare-metal Linux. For 802.11 security testing purposes — packet capture, handshake collection, injection testing — this latency is not operationally significant. It would only matter in latency-critical real-time applications, which security testing is not.
Exclusive ownership: macOS cannot share the ALFA adapter with the Kali VM simultaneously. Once the adapter is passed through to the VM, it disappears from macOS entirely. To return it to macOS (for example, to use it as a normal Wi-Fi adapter), disconnect it from the VM via the hypervisor’s USB device menu, then unplug and re-plug the adapter. macOS will re-claim it as a standard interface.
Power consumption: Running a USB Wi-Fi adapter (which transmits RF energy at up to 100 mW) inside a VM on a Mac that is also running its own Wi-Fi radio is a non-trivial power draw. Extended airodump-ng sessions or packet injection testing can drain a MacBook battery significantly faster than normal operation. Use the charger during extended testing sessions — particularly on Apple Silicon MacBooks, where battery management is tightly integrated with the thermal envelope.
VM snapshot before testing: VMware Fusion and Parallels both support VM snapshots. Taking a snapshot of a clean, configured Kali installation before a testing session allows you to roll back to a known-good state if a driver update or configuration change breaks something.
Troubleshooting#
| Symptom | Likely Cause | Solution |
|---|---|---|
| ALFA adapter not appearing in hypervisor USB menu | macOS system extension not approved | System Preferences → Security & Privacy → General → Allow VMware / Parallels extension, then restart |
lsusb shows no ALFA adapter inside Kali VM | USB passthrough not completed | Manually connect via VM → USB & Bluetooth menu; re-plug adapter |
wlan1 interface missing after passthrough | Driver not loaded (RTL8812AU) | Install RTL8812AU driver via DKMS; see Driver Install Guide |
airmon-ng start wlan1 fails with “Operation not permitted” | NetworkManager holding the interface | Run sudo airmon-ng check kill first; then retry |
| Monitor mode starts but airodump-ng shows no networks | Wrong channel or interface | Confirm wlan1mon exists with ip link show; try sudo airodump-ng --band abg wlan1mon |
| VM freezes when ALFA adapter is plugged in | USB controller conflict (VMware) | Shut down VM, go to VM Settings → USB, switch controller from USB 3.0 to USB 2.0, restart VM |
dmesg | tail -30 immediately after plugging in. The output will indicate whether the kernel is detecting the device and which driver (if any) is attempting to bind to it.常見問題
Can ALFA adapters use monitor mode natively on macOS?
No. macOS CoreWLAN and IO80211Family frameworks do not support monitor mode or packet injection for third-party adapters. You must run a Kali Linux VM with USB passthrough.
Should I choose VMware Fusion or Parallels on Apple Silicon?
Both work, but Parallels Desktop 19+ generally offers better ARM64 VM performance and more stable USB passthrough on Apple Silicon than VMware Fusion.
Does AWUS036AXML need driver compilation on an Apple Silicon Kali VM?
No. The MT7921AUN driver has been in the mainline kernel since Linux 5.18. Kali ARM64 2024.x and later auto-detect it on plug-in.
Can Intel Macs use the standard Kali x86_64 ISO?
Yes. Intel Macs are x86_64 architecture, so you can use the official kali.org standard Kali Linux x86_64 ISO to create the VM.
Is VirtualBox suitable for security testing on Apple Silicon?
Not recommended. VirtualBox support for Apple Silicon is still experimental, with known USB passthrough issues. Use VMware Fusion or Parallels instead.
Related Guides#
For Windows and Linux hosts using VirtualBox or VMware Workstation, see the companion guide: ALFA Adapter USB Passthrough: VirtualBox & VMware Setup Guide.
For adapter-specific details on the AWUS036AXML recommended throughout this guide, including 6 GHz band performance benchmarks and driver version notes, see the full review: ALFA AWUS036AXML WiFi 6E Review.